Setting up a Virtual Private Network (VPN) on your device is a straightforward process that can greatly enhance your online privacy and security. Whether you’re using a Windows PC, a Mac, an Android device, or an iPhone, this step-by-step guide will walk you through the process of configuring a VPN on your device.
Step 1: Choose a VPN Service
Before you begin, you’ll need to choose a VPN service provider. Look for a reputable provider that offers strong encryption, a strict no-logs policy, and a variety of server locations. There are many well-established VPN services available, such as NordVPN, ExpressVPN, and CyberGhost. Once you’ve selected a provider, subscribe to their service and create an account.
Step 2: Download the VPN App
Most VPN providers offer dedicated apps for different devices and operating systems. Visit the official website of your chosen VPN provider and download the app that matches your device. Make sure to download the app from the official source to ensure you’re getting a legitimate and secure version.
Step 3: Install the VPN App
Once the app is downloaded, run the installation process. Follow the on-screen instructions to complete the installation. You may be asked to provide administrative permissions to install the app, so make sure to grant the necessary permissions.
Step 4: Launch the VPN App
After the installation is complete, launch the VPN app. You will be prompted to log in with the account credentials you created during the subscription process. Enter your username and password to access the app.
Step 5: Connect to a Server
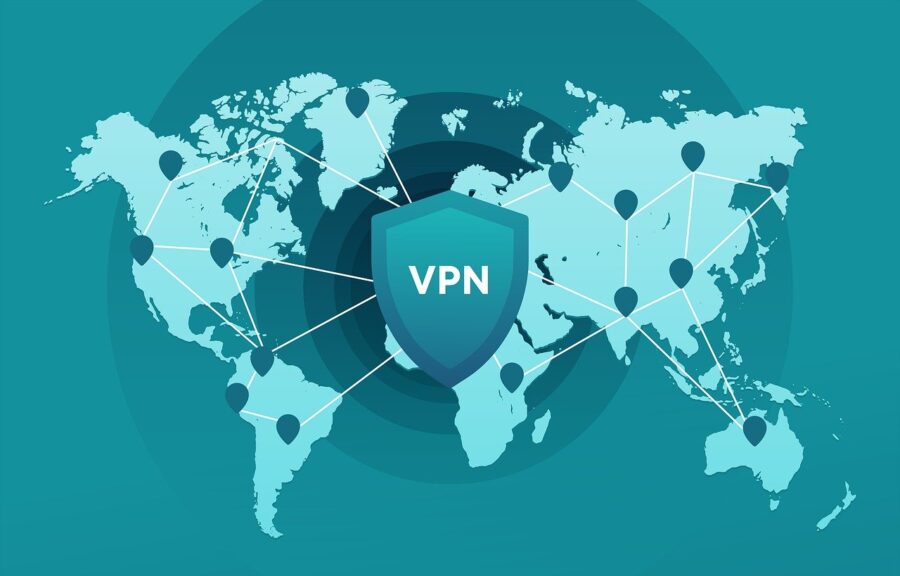
Once you’re logged in, the VPN app will typically display a list of server locations to choose from. Select a server location based on your needs. If you want to access content from a specific country or enhance your online privacy, choose a server in that region.
Step 6: Connect to the VPN
Click the “Connect” button within the app to establish a secure connection to the selected server. You may also see options to choose a specific server or server type (e.g., a dedicated server for streaming or torrenting). Select the appropriate settings based on your requirements.
Step 7: Verify the Connection
Once the connection is established, the app will display that you are connected to the VPN. You can often check your new IP address and server location within the app to confirm the connection.
Step 8: Enjoy Secure Browsing
With your VPN active, all your internet traffic is now routed through the VPN server. Your data is encrypted and your IP address is hidden, providing enhanced online privacy and security. You can now browse the web, stream content, and use online services with peace of mind.
Step 9: Disconnect When Finished
When you’re done using the VPN, make sure to disconnect from the server. This will return your internet connection to its regular state.
Step 10: Customize Your Settings (Optional)
Most VPN apps offer settings that you can customize to suit your preferences. You can typically configure options like the VPN protocol, startup behavior, or split tunneling. These settings allow you to tailor the VPN experience to your specific needs.
Conclusion:
Setting up a VPN on your device is a relatively simple process that significantly enhances your online security and privacy. By choosing a reputable VPN service, downloading and installing the app, connecting to a server, and customizing your settings, you can enjoy the benefits of anonymous browsing and secure online activities. Whether you’re protecting sensitive information or accessing geo-restricted content, a VPN is a valuable tool for safeguarding your digital life.

